The Weekly Timesheet view is perfect if you wish to review shifts weekly.
It shows you the full staff list and details of those who have worked in the past week (from today’s date).
It shows who has worked, the type of shift that they have worked, and their hours*.
*However, this does not include Earn & Claim holiday.
The Actions Menu
The actions menu at the top allows you to add missing entries, paid holidays and paid illness. You can also print all timesheets in the system or only those with valid entries.
The print options include printing all time sheets, all time sheets with entries, time sheets with entries (venue only).
Under the actions menu, there are several viewing options.
Viewing
Under Viewing, you can select whether you want to view All staff at the home venue or all staff that have been assigned a shift, or only staff that are directly reporting to you (for managers). The options include:
Assigned staff - Anyone who has that venue assigned to them.
Home staff - Anyone with that as their default venue.
Direct reports - Only the people the person viewing is the line manager for.
There is also the Quick Edit option which allows you to quickly add in shift times directly from this page. This is a different view of the 'Home Staff view' designed to work similarly to Excel. Simply type in the shift times, and they will be added. Alternatively, you can use the 'Quick Edit' view for assigned staff.
Sort By
By default, the list of shifts shown will be ordered by the staff members’ names. You can change this using the sort by option in the Actions Menu. If you select order by skill hierarchy, the order will be based on the staff member’s default skill. This allows you to show managers at the top, for example.
Filter
With the Filter button, you can change which staff are going to be shown. Either you can show only home staff or show only staff members who have had time entries.
Approving time entries
Managers can approve shifts by clicking the Approve button on the right side of the screen, next to each shift. This will approve the full week’s worth of shifts for that staff member. Approved shifts are shown with the green approved label on the right.
Editing an Entry
The weekly timesheet also shows any cost codes and additional cost codes when you hover over a shift time entry, making checking the values quicker and easier.
To edit a time entry, simply click on the shift itself. This will take you to a pop-up window that allows you to edit the time entry.
Note: If a time entry is displayed in italics, it indicates that there are times the staff member worked at a different venue. You can edit these times by going to the venue and viewing the time entries.
Quick Edit
The quick edit view allows you to simply type in the changes to time entries or add new entries by adding the times. See the quick view on the manage shift week to see how this works.
It’s important to know that only staff with a default skill can have shifts added/edited like this (as the system needs to know where they should have worked). Once a time entry has been added, you can swap back to the normal view to edit the time entry details if required.
Absences
It is easy to report and update absences directly from the time sheet view.
There is the option for managers to report the correct absence when processing time sheets rather than having to go to staff profiles.
Just hover over the day as you would normally do to add a time entry and choose the Report Absence instead. Absences can also be edited here to adjust the duration or details.

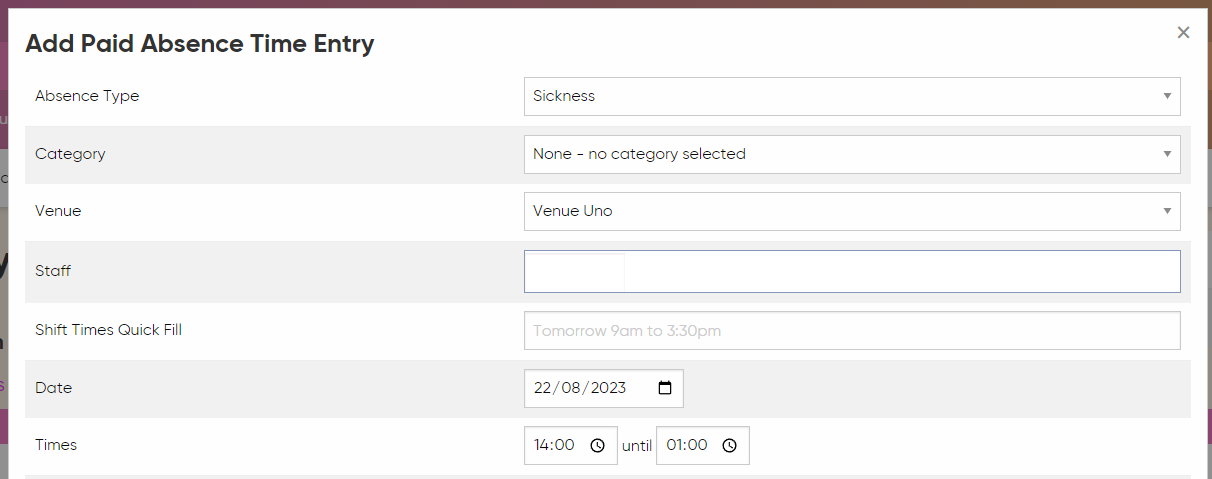
In addition, the 'add absence time entry’ option on the timesheet and unprocessed pay views will collect absence information to correctly report on absences at the same time.
Comments
0 comments
Please sign in to leave a comment.