Creating Accounts
If you are using our Recruitment Add-On then you do not need to create staff accounts. Applicants who digitally accept their job offers will automatically have accounts created and their details copied across.
We recommend you use the 'Invite Staff' option which basically asks the staff to sign up themselves and then are approved by managers.
Invite Staff
This page allows you to get accounts setup on the system with minimal information. There are two options; instant access or create account but no immediate access.
The instant access option allows you to pre-set the staff member’s access level within the site. Simply enter their email address, select their home venue and choose their access level. They will be sent a welcome email which allows them to sign up for the system and provide all of their information
If you provide their name then you will be able to edit their account immediately. If you leave them blank then you will need to wait until they have accepted their invite and provided this information to you. They will not appear on the site until their name has been provided.
Alternatively the no immediate access option requires you to provide their email, first name and last name. The staff member will have an account created but they will not be given access and they won’t receive a welcome email (yet). This allows you to setup more details on their account without them having access.
Once you are ready to provide access, go to the Staff > Staff Settings > Manage Staff page and search for the staff member. Under the Manage menu on their row, you will have an option to send their invite email. You also have the option to resend an email here, under the Manage menu - if the staff member has an account with a name attached.
If they do not have a staff account with a name yet you can resend the invite under the ‘invite staff’ page.
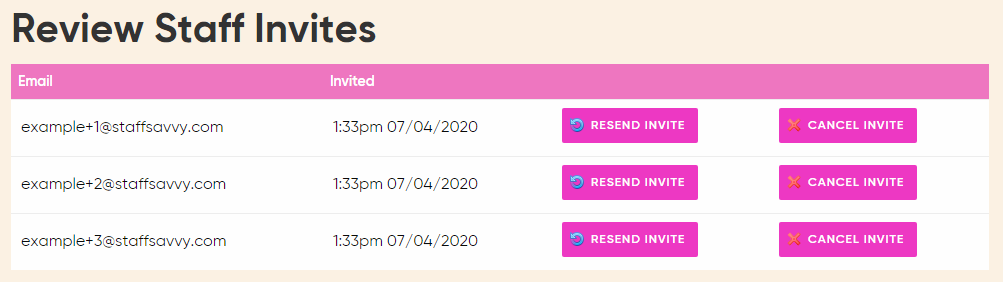
From here you can also cancel their invite or view your active invites from the invite staff page at any time. Resending the invite will also create a new activation link so the staff member needs to use the newest email they have been sent.
Authorise Accounts
For accounts created using Invite Staff they need to be authorised before gaining access.
Once you have accounts to approve, these will be displayed on your dashboard under a panel called notifications.
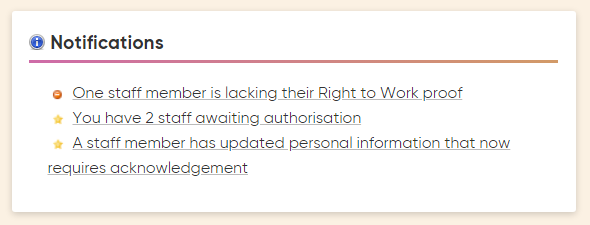
Simply clicking on this, will display a list of all of the staff awaiting approval; each staff name is listed down the left of the screen.
On the right, their key contact information is displayed. Then, the levels the staff member can be assigned are listed. To approve a staff member, simply select a level other than Unauthorised and click the Process Accounts button at the bottom of the screen.
You will normally want to assign the staff member a couple of skills as needed so they can start working and be assigned shifts as needed.
If you don’t recognise the account, then you can use the Delete option in the list of levels to delete the account and block the email address.
Once you approve the staff member, they will receive an email letting them know they can access the account.
Create Account
This option allows you to set up a complete account on behalf of a staff member. You will need to provide all of their information, including email and mobile details.
There is an option to email them a temporary password; they will be asked to change it when they log in. When creating their own password, they will be required to set a secure password that meets the minimum length.
This has the benefit that the account is ready to use immediately and can have shifts assigned to it straight away. However this requires a lot more admin than the other methods and thus should only be used when really needed.
Comments
0 comments
Please sign in to leave a comment.